Opening a Groovy Coconut
Using hardware on something you’ll be soon eating seems odd, but it will be so worth it.
Don’t open just one. Open several and freeze what you’ll enjoy another day (fresh coconut freezes well). No matter what, you’ll appreciate the groove in the Groovy Coconut.

Tools of the "trade"
It looks like a lot, but consider this the most number of “tools” to use. As you get familiar with opening a coconut, you’ll find what works best for you.
Tools needed for this method:
- Hand towel or dishcloth
- large mixing bowl
- small mixing bowl
- Board or cookie sheet
- colander
- vegetable peeler
- hammer
- cleaned phillips screwdriver or ice pic
- cleaned flat head screwdriver
- protective eyewear (flying debris is still possible)
- and a Groovy Coconut! (make it 2)
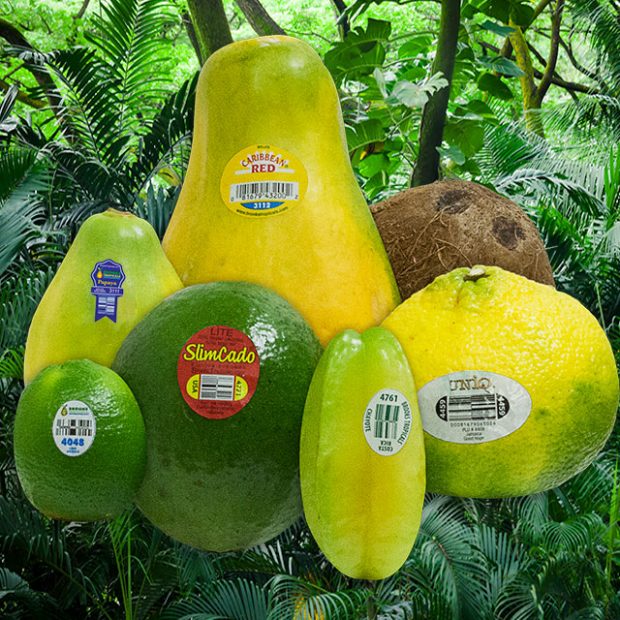
Make sure your Groovy Coconut is fresh. Check the 3 signs of a good coconut.

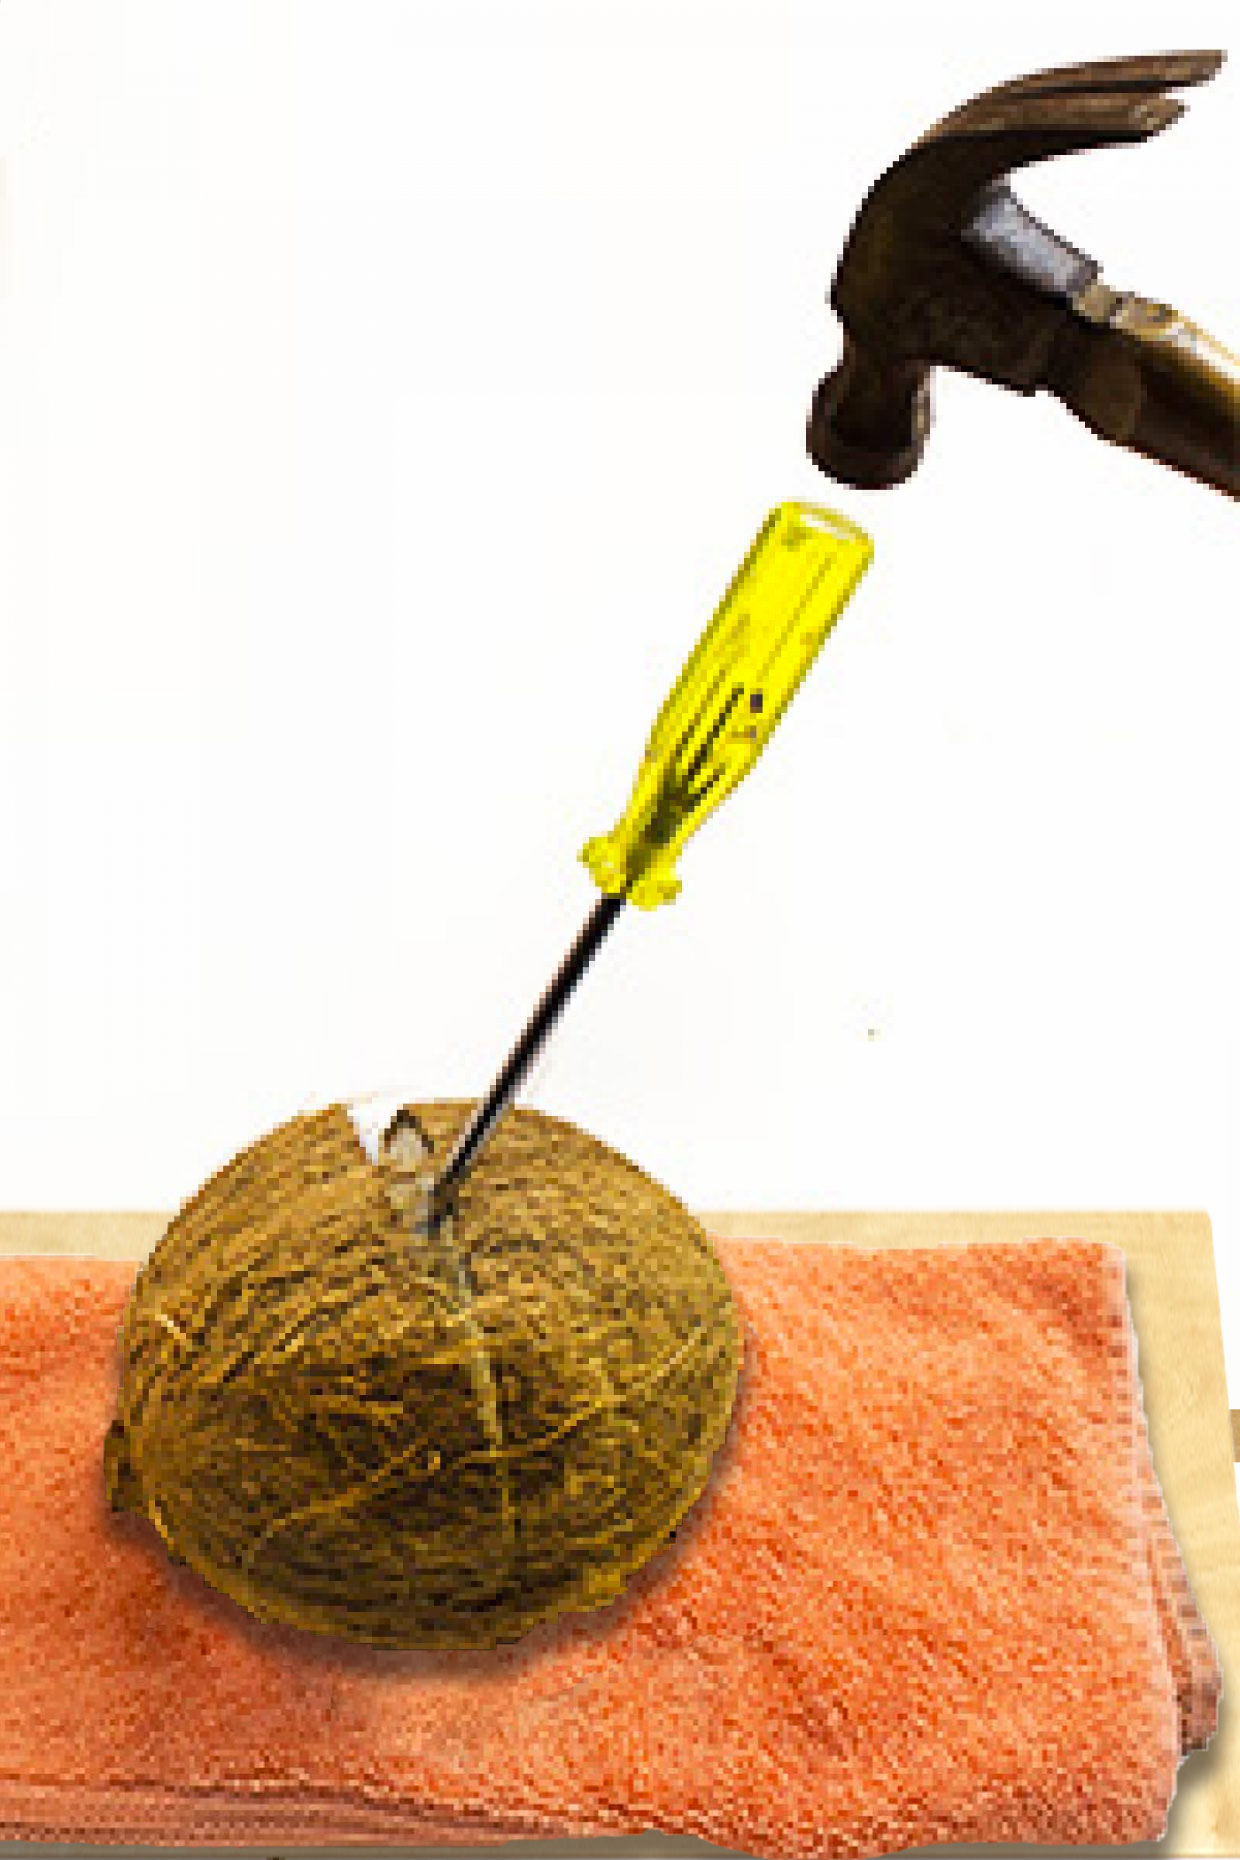
Step 1
Protect your countertop! Place a wooden board and a folded towel (bunched up to hold the coconut steady) under the coconut.

Step 2
Turn the coconut so the “eyes” (the 3 dark circles close together on one end of the coconut) are “looking” upward.
Take the tip of a clean ice pick or a Phillips screwdriver and push into the center of one of the eyes.* Use the hammer to poke the dark circle of the eye in. The eyes are easy to push in, so don’t hammer hard.
Optionally, repeat with the other two eyes. Doing all 3 eyes help the coconut to drain faster.
*Phillips screwdriver will make larger holes, allowing the liquid to drain quicker out of the coconut.

Step 3
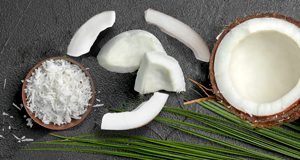
Drain the coconut’s liquid. The liquid is not coconut water (that comes out of an immature or green coconut) but it can be used in your cooking or to make coconut milk. Drain with the coconut’s “eyes” down.
- To save the liquid, drain the coconut (eyes down) using a strainer in a large bowl.
- To discard the liquid, simply prop the coconut up (eyes down) in a bowl or in your sink to drain.
Please note: if there is no liquid inside the coconut, it’s not fresh. See the 3 signs of a good coconut…
Step 4
On top of the folded towel and board, place the coconut with the groove side up. You can leave Groovy Coconut’s orange netting on or wear glasses to avoid the potential of flying debris.
Using a clean flat-headed screwdriver, place the screwdriver’s tip in the coconut’s groove. With the hammer in one hand and the handle of the screwdriver in the other, carefully use the hammer to crack the coconut open and to pry the coconut apart.
If one hit doesn’t do it, move the tip of the screwdriver to another part of the groove about 1 inch away and repeat.

Step 5
Heat option
When you add heat to the coconut, the white flesh contracts differently from the hard outer shell. This will effectively pry the white flesh off the shell. There 2 ways to do this
- Microwave the coconut halves on high for 2 to 3 minutes. OR
- Heat the coconut for 30 minutes at 350º. When heating, make sure the coconut is not touching any heating element.
Let the coconut cool.
Then use a small paring knife around the coconut’s diameter to separate any still connected flesh from the shell. The small knife is also effective in popping the coconut half out of the shell.
If you get into fresh coconuts (high likelihood of happening, once you enjoy fresh coconut), you can buy a curved knife/spatula that’s made for scooping out the coconut flesh.

Step 6
The coconut will have a thin brown covering on the white flesh. You can enjoy the coconut with this covering or take it off with a veggie peeler.
You could do it just holding the coconut half in your hand, but you’ll find that you’ll need to make very strong strokes with the veggie peeler. You might accidentally hit your hand with the peeler.
To avoid that, place the coconut half over a small bowl or large glass (one that fits inside the seed cavity) on top of a cutting board (protect your kitchen counters). Holding the coconut firmly, then use the veggie peeler. You’ll soon appreciate having a little room between the bottom of the coconut half and your cutting board. Above all be careful.
With a knife or the veggie peeler, cut-out or scrape away any shell remanents that entered the shell when draining its liquid.
Step 7
Rinse the coconut halves off. Slice, chop or shred as desired.
Freeze Option
Freeze any coconut you don’t use in a freezer bag closed with as much air out of it as possible.
Although you can freeze the coconut half, I’d freeze after slicing, chopping or shredding. I’ve found that I can take one or two slices out at a time then close the bag back up for another time. For shredded coconut, poke at the bag with the handle of a kitchen tool to knock off the approximate amount desired. After you’ve taken out what you need, close the freezer bag up again for another time.
Open up 2 to 3 coconuts at a time. Slice one, shred another, chop the last one, wishing you had opened even more coconuts.